NOTIONS:
* Tracing paper
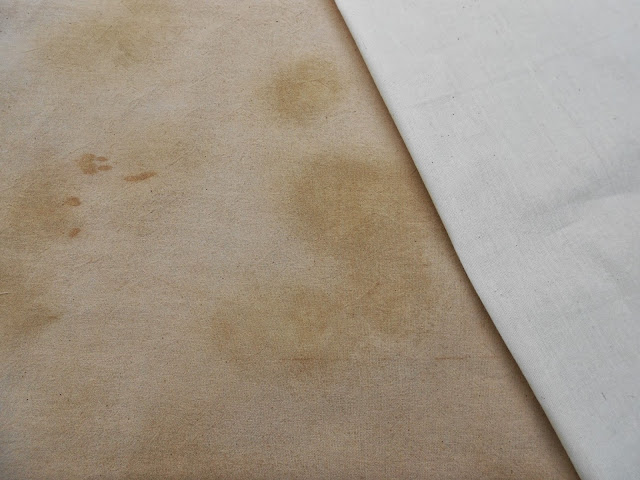
* Tea stained fabric (or one of your choice)
* Coloured thread to compliment fabric
* Toy Filling
* Embroidery thread in black and white
* Glass dish
* White Fabric paint
* Piece of paper
* Scouring sponge
* Ribbon bows
Take your tea stained fabric and copy the gingerbreadman shape below. You can make it bigger if you need to.
You can trace the pattern straight off your screen just make sure you do not press to hard.
Place shape on double folded fabric as each one needs a front and a back - it does not matter if the staining on the fabric is different on each side. In fact it helps add to the effect of the finished item been vintage.
Cut out as many as you need and then sew round the outsides, preferably not too close to the edge to prevent fraying when you turn right side out. I used a sewing machine but you could sew these by hand if you want to.
Leave a hole big enough for you be able to turn the figures right side out, I left mine on the inside of the leg as it is easier to disguise.
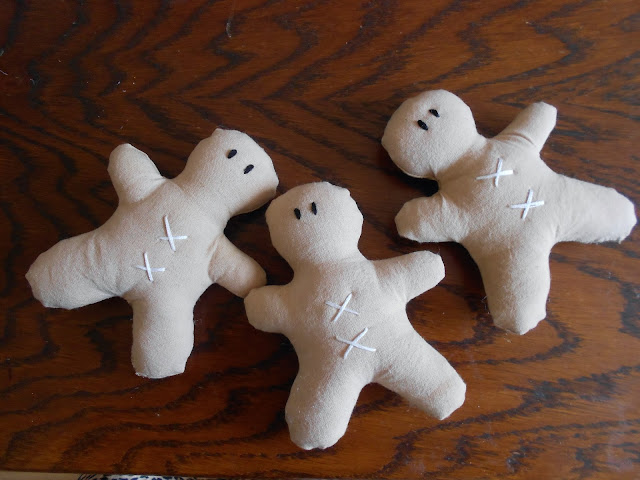
Once you have them all sewn up, turn right side out as shown below, and gently fill with toy filling. Do not overfill as it will add to weight of finished item which is not recommended for decorations.
Sew up hole on leg by tucking in raw edges and using small stitches in complimentary coloured thread.
Now onto the fun part of decorating your stuffed figures.
You will need embroidery thread in black and white. Use the black and french knots to create the eyes.
In the white, do two crosses on the body of the figure, try not to be to uniform in these.
Don't worry about tying off in the knotted way, just sew up through the inside of the figure and out through the back, and then snip as close to the fabric as possible, taking care not to snip into figure. Gently nip the fabric and lift near the thread end and it will go back into figure.
Next take the white fabric paint, a sponge, piece of paper and a bowl in which to pour paint.
Pour paint into dish and grab sponge.
I used the rough, scouring side of a washing up sponge for effect. Dip the sponge into the paint and blot onto a piece of paper until you get a bubble effect.
When you have removed the excess paint and are happy with the amount on sponge start to mottle the gingerbreadmen on the top of arms, sides of legs and top of head. Anywhere where frost or snow might naturally gather, there are no hard and fast rules.
Next you need little ribbon bows - you can use pre made ones or create them yourself using the easy fork method
put the thread through the bck of the bow and sew securely to to the figure.
You now have your finished figures to do with what you want.
Stay tuned to this blog to see what I used them for.


